Home Electrical Testing Methods: Using Multimeters and Voltage Testers for Accurate Diagnostics
Master the essential electrical testing techniques every homeowner should know. Learn to safely use multimeters and voltage testers to diagnose electrical problems with professional accuracy.
Understanding Electrical Testing: Your Foundation for Safe Diagnostics
When electrical problems strike your home, guesswork can be dangerous and expensive. Professional electricians rely on precise testing methods to diagnose issues accurately, and as a homeowner, learning these fundamental techniques can help you identify problems safely and communicate effectively with electrical professionals.
This comprehensive tutorial will teach you how to use essential testing equipment to measure voltage, continuity, and resistance in your home's electrical system. By mastering these methods, you'll gain confidence in troubleshooting electrical issues while maintaining the highest safety standards.
Setting Up Your Testing Equipment
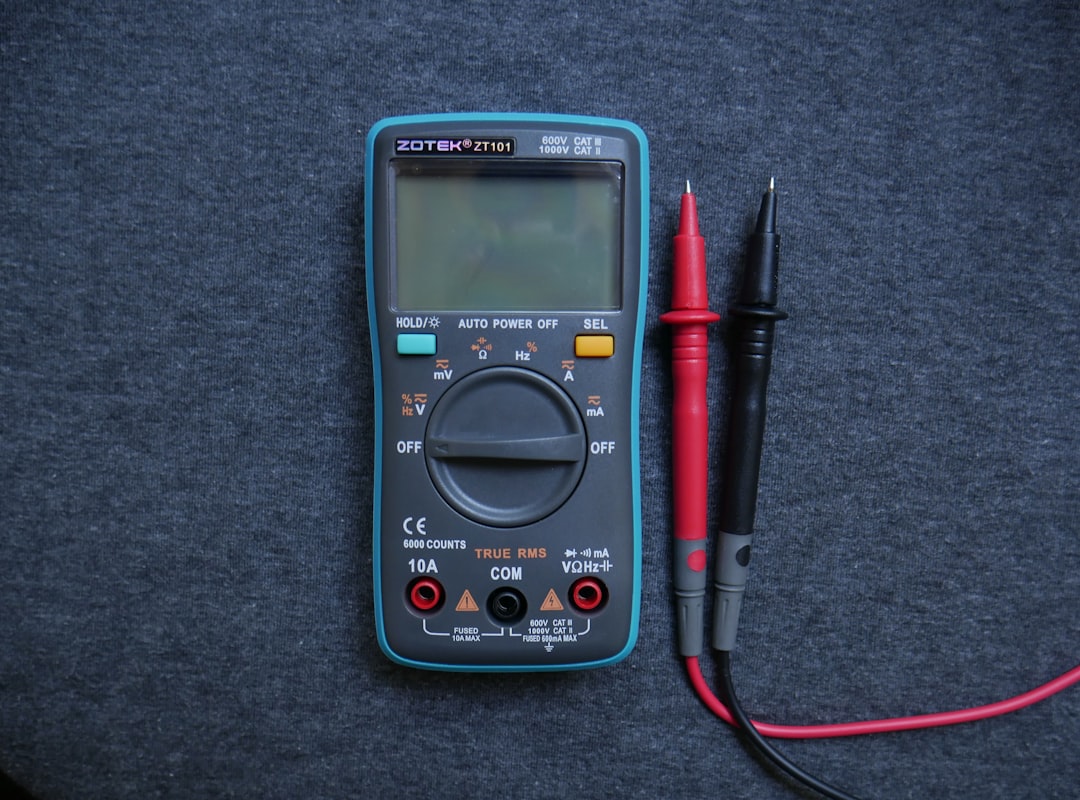
Essential Testing Tools You'll Need
- Digital Multimeter (DMM): Measures voltage, current, and resistance
- Non-Contact Voltage Tester: Detects live wires without direct contact
- Circuit Tester: Tests outlet functionality and wiring
- Continuity Tester: Checks if electrical paths are complete
- Insulated Screwdrivers: For safe electrical work
Preparing Your Multimeter for Testing
Before beginning any electrical testing, proper multimeter setup is crucial for accurate readings and personal safety.
- Insert Test Leads: Connect the black lead to the COM port and red lead to the VΩmA port
- Select Function: Turn the dial to the appropriate setting (AC voltage, DC voltage, or resistance)
- Check Battery: Ensure your multimeter has sufficient battery power for accurate readings
- Test the Tester: Verify functionality by testing a known good circuit or battery
Step-by-Step Voltage Testing Procedures
Testing AC Voltage at Outlets
Measuring voltage at electrical outlets is one of the most common diagnostic procedures. This test helps identify power supply issues and voltage irregularities.
Use your non-contact voltage tester to confirm the outlet is live. This preliminary check prevents surprises and ensures you're testing an energized circuit.
Set your multimeter to AC voltage (VAC) with a range higher than 120V. Most digital multimeters auto-range, but manual selection of 200V AC ensures accurate readings.
Insert the black probe into the neutral slot (larger opening) and red probe into the hot slot (smaller opening). A standard reading should show 110-120V AC.
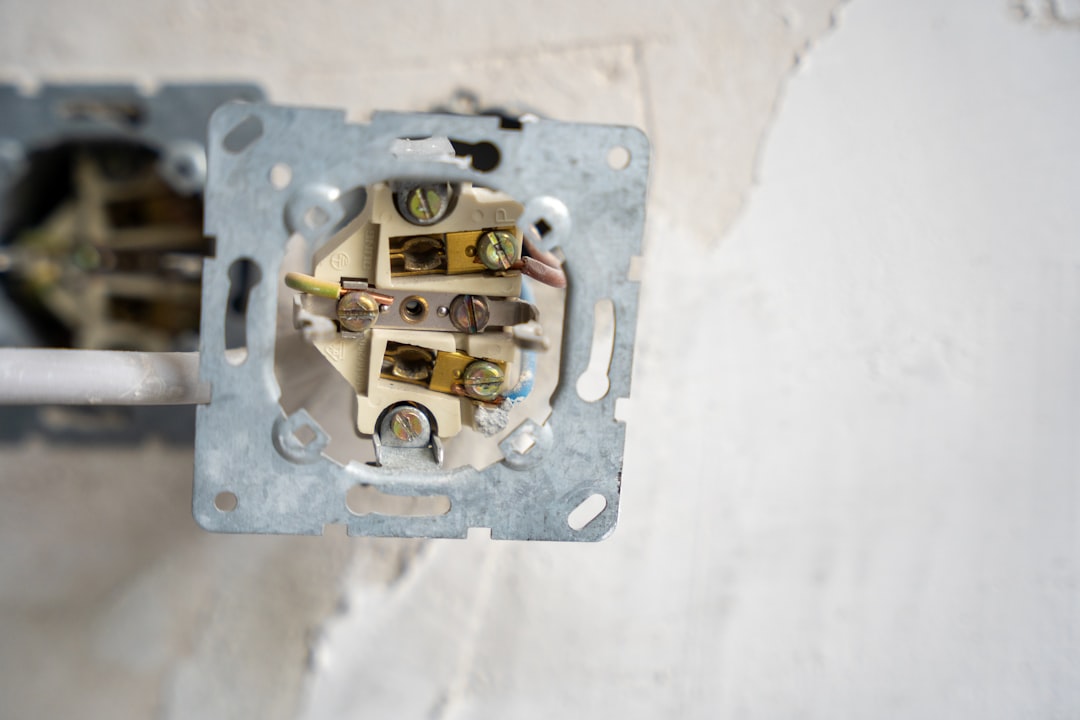
Testing Continuity in Switches and Fixtures
Continuity testing determines if electrical current can flow through a component. This method is essential for diagnosing faulty switches, fuses, and light fixtures.
Important: Always disconnect power and remove the component from the circuit before testing continuity. Testing continuity on live circuits can damage your multimeter.
- Power Down: Turn off the circuit breaker and verify power is off
- Isolate Component: Disconnect wires from the switch or fixture being tested
- Set Multimeter: Select the continuity or resistance (Ω) function
- Test Connection: Touch probes to the component's terminals
- Interpret Results: A beep or low resistance reading indicates good continuity
Advanced Testing Techniques and Troubleshooting
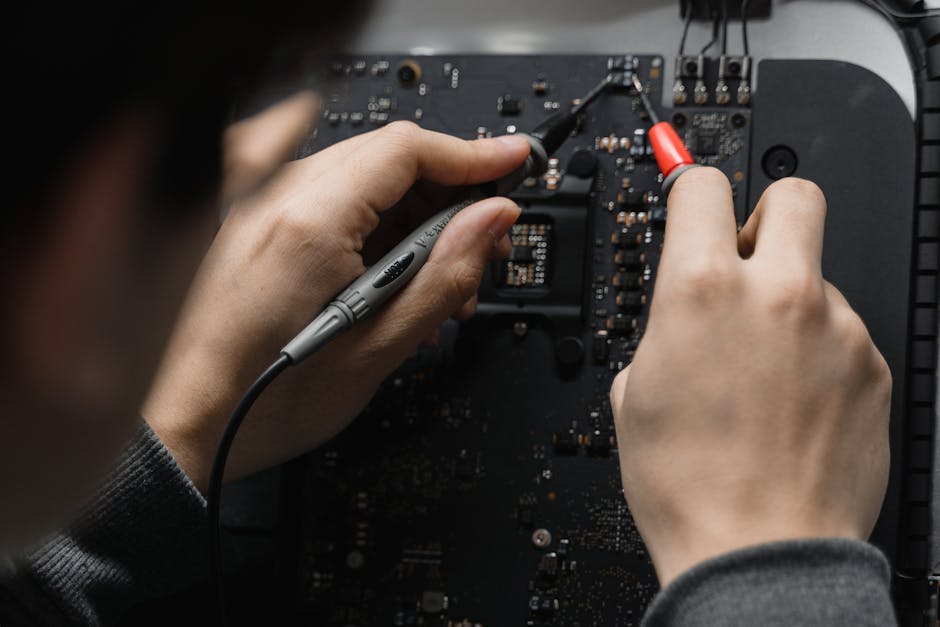
Measuring Current Draw
Current measurement helps identify overloaded circuits and faulty appliances that draw excessive power. This advanced technique requires careful setup and safety considerations.
To measure current, you must break the circuit and insert your multimeter in series with the load. This process involves:
- Amp Clamp Method: Use a clamp-on ammeter for non-invasive current measurement
- Series Connection: Disconnect one wire and connect multimeter leads in the circuit path
- Load Analysis: Compare measured current to appliance specifications
Resistance Testing for Wire Integrity
Resistance measurements help identify damaged wiring, poor connections, and component failures. High resistance readings often indicate corrosion, loose connections, or wire damage.
Good copper wire should show very low resistance (near zero ohms). High readings suggest wire damage or poor connections requiring immediate attention.
Interpreting Test Results and Next Steps
Common Reading Interpretations
Understanding what your test results mean is crucial for effective troubleshooting:
- Zero Voltage: Indicates power supply problems or tripped breakers
- Low Voltage (below 110V): Suggests voltage drop or utility supply issues
- High Resistance: Points to poor connections or component failure
- No Continuity: Indicates open circuits or failed components
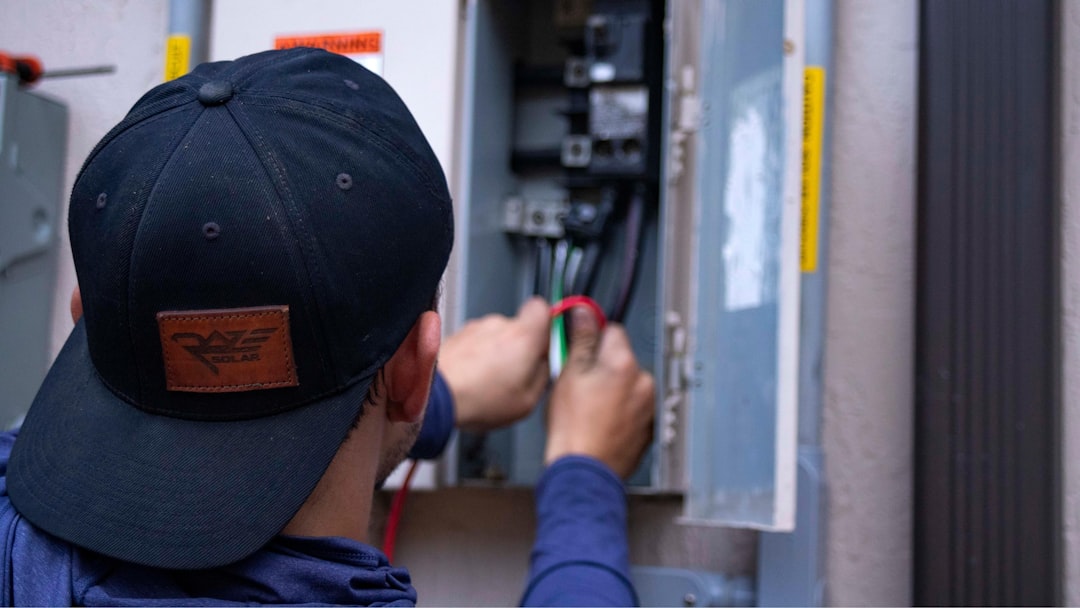
When to Stop and Call Professionals
While these testing methods help diagnose many electrical issues, certain situations require professional intervention:
Call a professional immediately if you discover: Voltage readings outside normal ranges, signs of arcing or burning, multiple circuit failures, or any situation where you feel uncertain about safety procedures.
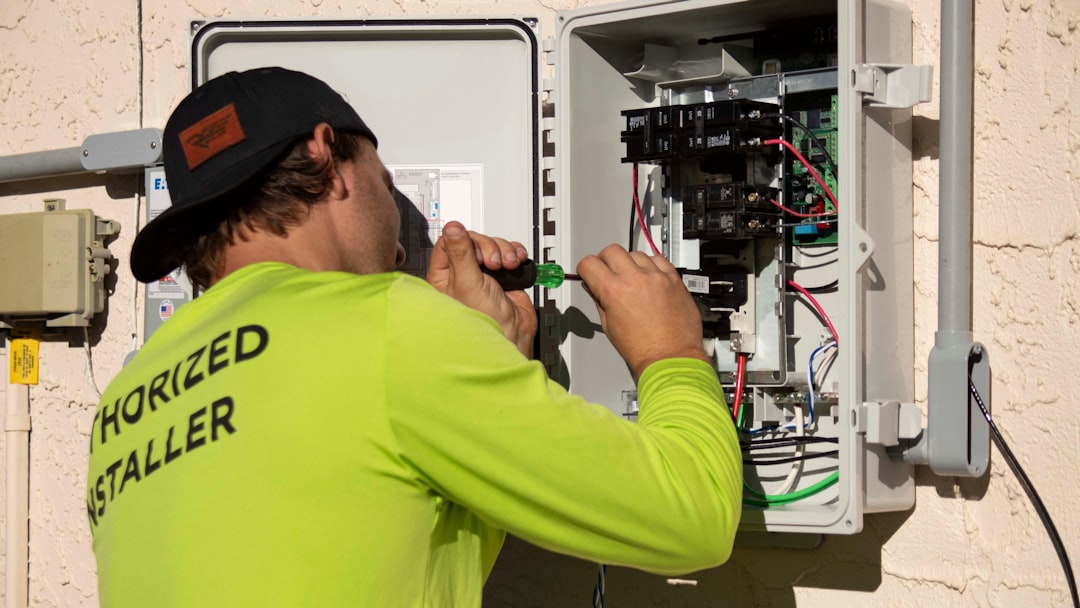
Professional Electrical Services in Los Angeles
While learning electrical testing methods empowers you as a homeowner, complex electrical issues require professional expertise. DynamoElectric Inc provides comprehensive commercial electrical services throughout Los Angeles and Greater LA, offering the experience and specialized equipment needed for safe, reliable electrical solutions.
Our certified electricians use advanced diagnostic equipment and proven troubleshooting methods to identify and resolve electrical problems efficiently. Whether you've discovered issues through your own testing or need professional diagnosis from the start, we're here to help with emergency services, design consultation, and free estimates.
Contact DynamoElectric Inc at 310-303-2233 for professional electrical troubleshooting and repair services. Don't let electrical problems compromise your safety or business operations – trust our experienced team to deliver high-quality electrical solutions tailored to your specific needs.
Topics
Written by
Mrs. Asia Hill
Published on April 8, 2026
Related Articles
Continue reading more on this topic
 DIY & Maintenance
 Dead Outlets: Step-by-Step Guide to Restore Power to Your Wall Sockets
From flickering lights to power outages, commercial buildings in Los Angeles face unique electrical challenges. Learn about the most common issues and professional solutions from DynamoElectric's experienced team.
 DIY & Maintenance
 Flickering Lights: How to Diagnose and Fix This Common Electrical Problem
Is your home plagued by annoying flickering lights? Learn the root causes behind this electrical issue and discover safe DIY troubleshooting methods to restore steady illumination.
 DIY & Maintenance
 How to Check for Electrical Issues in Your Garage: A Homeowner's Safety Guide
Learn the essential steps to identify electrical problems in your garage before they become dangerous. This comprehensive guide covers warning signs, DIY inspection tips, and when to call professionals.