
Light Switch Not Working: Complete Diagnosis and Repair Guide for Homeowners
When a light switch stops responding, it can be frustrating and concerning. Learn how to safely diagnose and fix common light switch problems with our comprehensive troubleshooting guide.
Super Admin
Author
Understanding Why Light Switches Stop Working
Few things are more frustrating than flipping a light switch and getting no response. Whether it's a sudden failure or gradual deterioration, a non-functioning light switch can disrupt your daily routine and raise safety concerns. The good news is that many light switch issues can be diagnosed and resolved with basic electrical knowledge and proper safety precautions.
Light switches are among the most frequently used electrical components in your home, making them susceptible to wear and various problems over time. Understanding the common causes and solutions can save you time, money, and unnecessary service calls.
Common Symptoms of Light Switch Problems
Before diving into troubleshooting, it's important to identify the specific symptoms you're experiencing:
- Complete non-response: Switch doesn't activate the light at all
- Intermittent operation: Light works sometimes but not consistently
- Loose or wobbly switch: Physical movement when operating
- Warm or hot switch plate: Excessive heat generation
- Crackling or buzzing sounds: Audible electrical issues
- Dim or delayed response: Light takes time to reach full brightness
Safety First: Essential Precautions
Warning: Always turn off power at the circuit breaker before working on any electrical components. Use a non-contact voltage tester to confirm power is off before proceeding.
Before attempting any diagnosis or repair, gather these essential tools:
- Non-contact voltage tester
- Multimeter
- Screwdriver set
- Wire nuts
- Electrical tape
- Flashlight or headlamp
Step-by-Step Troubleshooting Process
Step 1: Check the Obvious Culprits
Start with the simplest explanations before moving to complex electrical issues:
- Test the bulb: Try the light bulb in a working fixture to confirm it's functional
- Check circuit breakers: Ensure the breaker hasn't tripped
- Examine other switches: If multiple lights are affected, the problem may be upstream
- Test GFCI outlets: If the switch circuit includes GFCI protection, check if it needs resetting
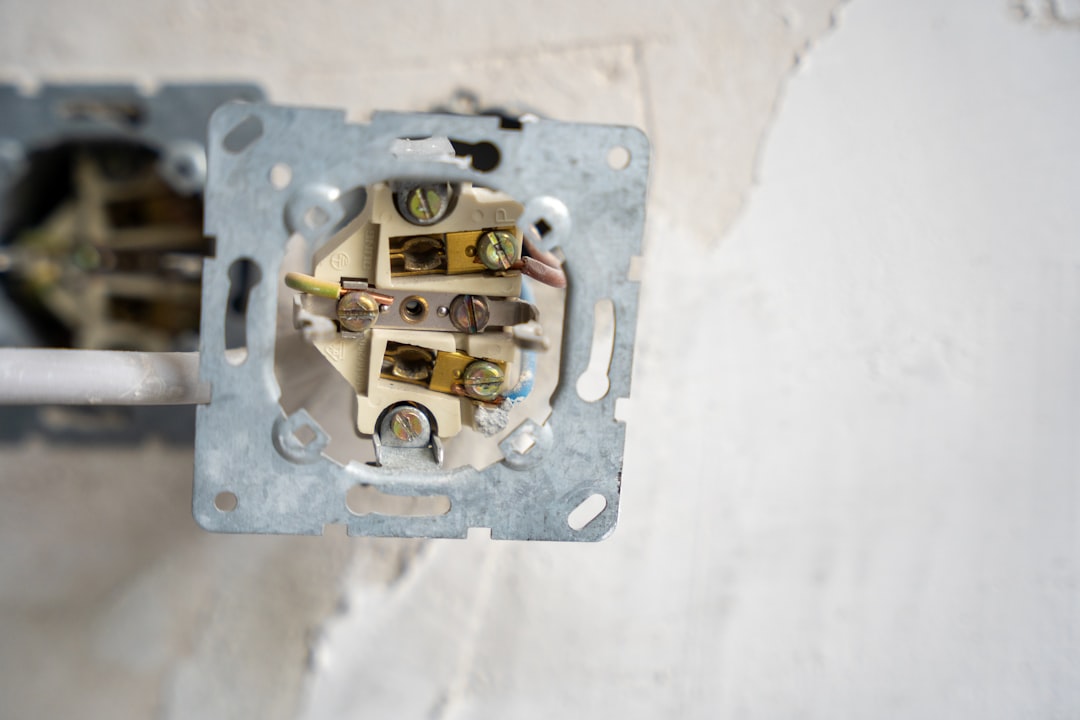
Step 2: Inspect the Switch Mechanism
With power confirmed off, remove the switch plate and examine the switch itself:
- Look for visible damage, burn marks, or melted components
- Check if wire connections are secure and properly attached
- Examine wires for damage, fraying, or discoloration
- Note any unusual odors that might indicate electrical problems
Step 3: Test Switch Continuity
Using a multimeter set to continuity mode:
- Disconnect wires from the switch terminals
- Test continuity between terminals with switch in "on" position
- Switch to "off" position and test again
- A working switch should show continuity when on, no continuity when off
Common Causes and Solutions
Worn Out Switch Contacts
Over time, the internal contacts in a switch can wear down, creating poor connections. This is especially common in frequently used switches. The solution is straightforward: replace the switch with a new one of the same type and amperage rating.
Loose Wire Connections
Vibration and thermal expansion can loosen wire connections over time. Carefully remove each wire, inspect the connection points, and reconnect securely. If wire ends appear damaged or corroded, trim them back and create fresh connections.
Overloaded Circuit
If the switch controls multiple high-wattage fixtures, it may be experiencing overload. Calculate the total wattage and ensure it doesn't exceed the switch's rating (typically 15 or 20 amps). Consider upgrading to a higher-rated switch or redistributing the electrical load.
Faulty Three-Way Switch Configuration
Three-way switches can be particularly tricky. If one switch in a three-way setup fails, both switches may appear non-functional. Test each switch individually and check the traveler wire connections between switches.
When to Replace vs. Repair
Most light switch problems require replacement rather than repair. Modern switches are inexpensive and designed for replacement when they fail. Consider replacement if you encounter:
- Physical damage to the switch body
- Failed continuity tests
- Repeated intermittent operation
- Signs of overheating or electrical arcing
- Switches older than 20 years
Professional Installation Considerations
While many homeowners can handle basic switch replacement, certain situations require professional expertise:
- Adding new switch circuits
- Converting single switches to three-way configurations
- Installing smart switches or dimmers with complex wiring
- Working with aluminum wiring or knob-and-tube systems
- Any situation where you're uncertain about wire identification
Preventive Maintenance Tips
Extend the life of your light switches with these simple maintenance practices:
- Operate switches gently—avoid excessive force
- Keep switch plates clean and dry
- Address loose switches promptly to prevent wire damage
- Consider upgrading to higher-quality switches in high-use areas
- Schedule periodic electrical inspections for older homes
Conclusion
A non-working light switch doesn't have to leave you in the dark. With proper safety precautions and systematic troubleshooting, many switch problems can be identified and resolved quickly. Remember that electrical work requires respect for safety protocols, and when in doubt, consulting with a qualified electrician is always the wisest choice.
Regular maintenance and prompt attention to electrical issues help ensure your home's lighting system remains reliable and safe for years to come.
Tags
Written by
Super Admin
Author at DynamoGenAi
Related Articles

Electrical Burning Smell in Your Home: How to Identify the Source and Stay Safe
DIY & Maintenance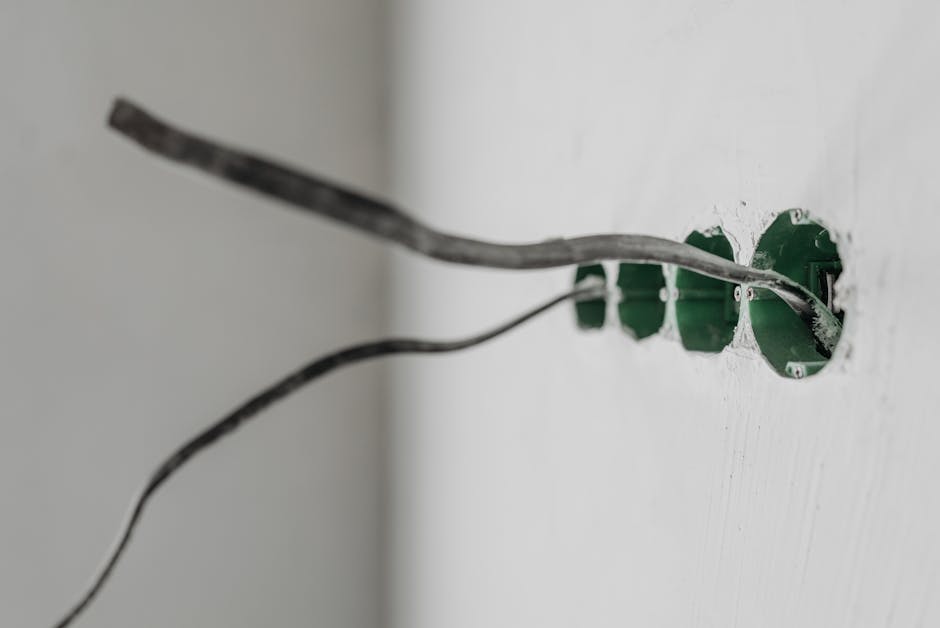
Electrical Outlet Sparking: When to DIY and When to Call a Professional
DIY & Maintenance
GFCI Outlet Won't Reset: Complete Troubleshooting Guide for Homeowners
DIY & Maintenance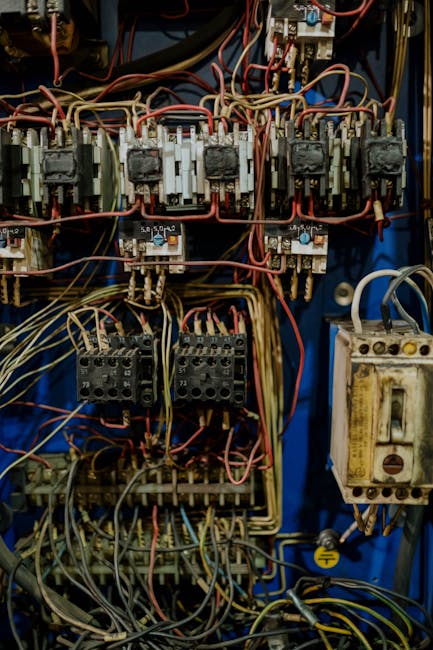
Circuit Breaker Keeps Tripping: Understanding Why and How to Fix It
DIY & Maintenance